
Mastering the Winged Eyeliner Look: Your Ultimate Guide
We've all been there. You stand before the mirror, eyeliner in hand, steadying your arm for that perfect flick. You've seen countless YouTube tutorials, you've practiced—yet that winged eye remains elusive. Let's change that, shall we? Today, we will dive deep into the fascinating world of winged eyeliner, providing you with not just steps but the reasoning behind them. So let's flutter those lids and soar to new makeup heights!
The Importance of Finding the Right Eyeliner
Before you even get to the fun part of drawing the wing, picking the right
eye lineris crucial.
 Liquid
,
gel, or
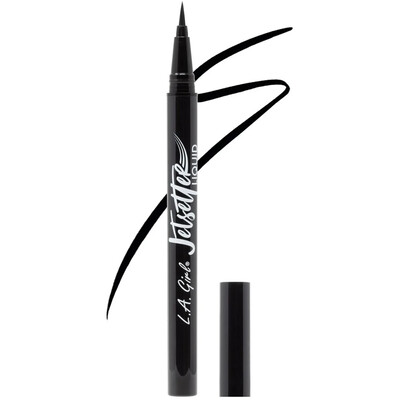
pencil? If you're new to the winged eyeliner game, I'd suggest starting with a pen-style liquid liner. They offer the control of a pencil with the finesse of a liquid. Back in the day when I was a makeup noob, a pen eyeliner was my saving grace. EyeBreakfast Cosmetics has a stunning range of liners that offer precise, smudge-proof lines. This L.A. Girl Jetsetter Liquid Liner is a great liquid eyeliner for achieving the
wingedeffect.
Step 1: Prime Those Lids

This will not only keep your eyeliner intact but also create a smooth skin ready for your
wingedapplication. Apply the primer evenly across your eyelids. It's the small things that make a big difference, trust me.
Step 2: Draw the Line
Carefully draw a thin line along your upper lash line. Start from the inner corner and work your way outward. The line should become slightly thicker as you move towards the outer corner of your eye. It's like sketching, but on your face.
Step 3: Create the Flick
Here comes the tricky part, the wing. Look straight into the mirror and draw a small line extending outward from your lower lash line. Think of it as an extension of that line, angled towards the end of your eyebrow in an
upwarddirection. This trick will help you find the best angle for your wing. Experiment with different angles until you find the right angle that works best with your eye shape.
Step 4: Connect and Fill
Now, connect the tip of the flick back to your upper lash line, creating a
small triangle. Fill it in. Voila! You've just created a wing. If you want to make it more dramatic, extend the line a bit more and thicken it up to your liking.
Step 5: Clean Up and Seal
Use a small angled brush like this

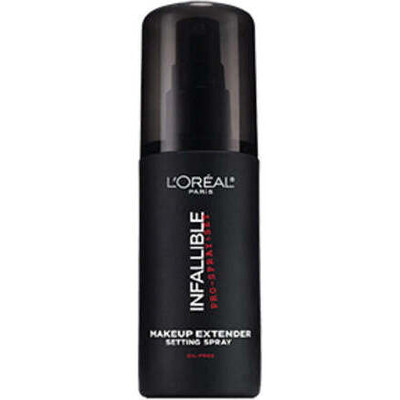
dipped in makeup remover to clean up any stray marks or uneven edges. This gives you that sharp, flawless finish. Once you're happy, seal the deal with a setting spray like this setting spray from L’Oreal that I absolutely love
Step 6: Mascara and You're Done
A good mascara like the Lash Accelerator mascara from RIMMEL LONDON can be the cherry on top.

It opens up your eyes, giving that winged liner even more drama.
Ready to try it for yourself? EyeBreakfast Cosmetics offers all the essential products to perfect this look.
Find your perfect winged eyeliner here.So, what are you waiting for? Grab your tools and let your wings soar! And don't forget to check back for more exciting articles and how-tos at EyeBreakfast.