
Get the Perfect Eri Look: Makeup & Techniques for Cosplay Success!

Now, let's talk about Eri and why she's such an amazing choice for cosplay. Eri is a character with a heartwarming story and a distinctive appearance. She's got those striking red eyes and her unique horn, which are the standout features we'll focus on today. With the right makeup, you can capture her essence and bring her to life!
Makeup Kit Recommendations
Now, let's dive into the Eri makeup kit. Here are the essentials you'll need:
1. Foundation
A good base is essential. Just choose a foundation that matches your lovely skin tone, and you're good to go. Blend it evenly on your face for a smooth canvas.

2. Concealer
To cover any blemishes or imperfections, dab on some concealer. This will give you that flawless Eri look.
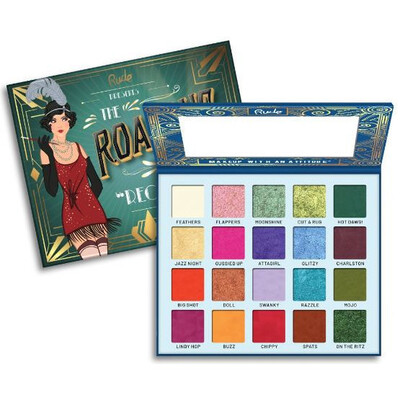
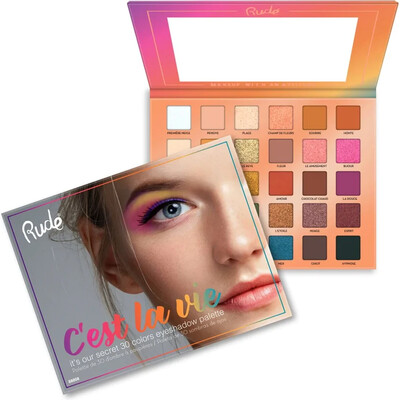
3. Eyeshadow
Eri's striking red eyes are her signature. Apply a vibrant red
eyeshadow to your eyelids. Make those peepers pop!
Simi's product picks:


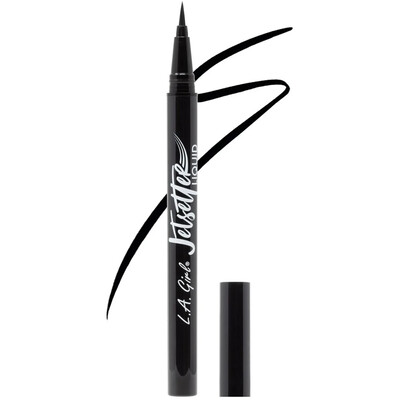
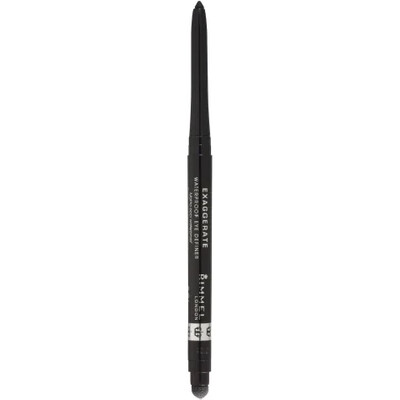
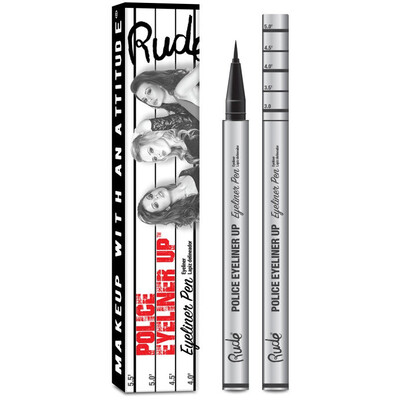
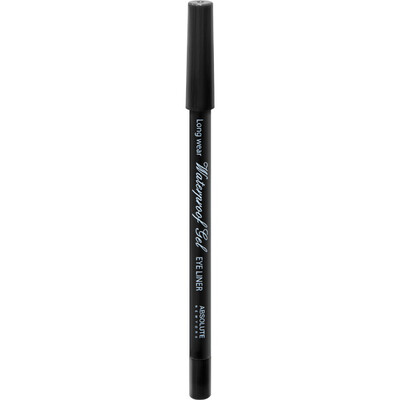
4. Eyeliner
Line your upper lids with a black eyeliner to define your eyes. Keep it neat and close to your lash line.
Simi's product picks:


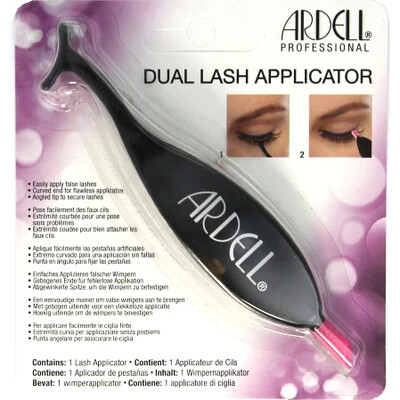
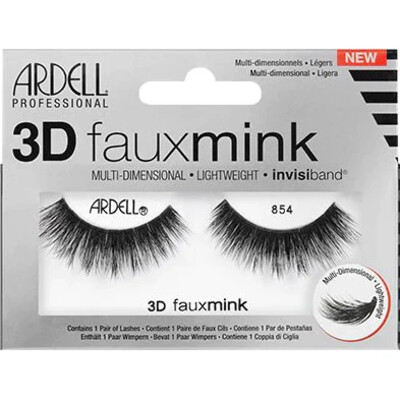
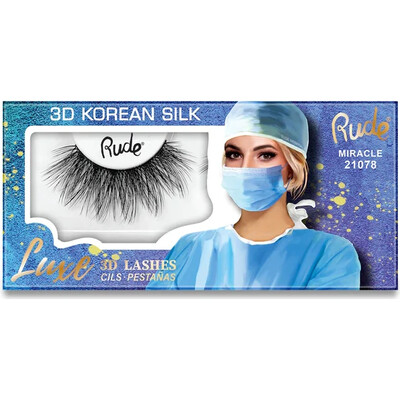
5. False Eyelashes (Optional)
If you want to take your Eri transformation to the next level, add some false lashes for that extra oomph.
Simi's product picks:


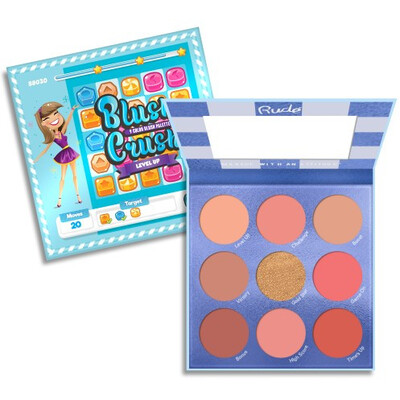
6. Blush
Eri has a natural flush to her cheeks. Apply a soft pink blush to the apples of your cheeks for a cute, rosy look.
Simi's product picks:


7. Lipstick
Finish off with a soft pink
lipstick to match Eri's adorable lips.
Simi's product picks:


8. Setting Spray
Use a setting spray to keep your makeup in place all day.
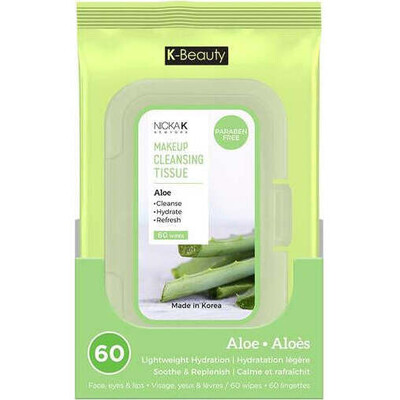
9. Makeup Wipes
Simi's product picks:

How to Apply
1.
Foundation & Concealer:
- Begin with a clean, moisturized face. Hydrated skin is the canvas for a flawless makeup look.
- Apply a small amount of foundation to the back of your hand or a makeup palette.
- Using a makeup brush, sponge, or your fingertips, start in the center of your face (typically the nose) and blend the foundation outward. Make sure to blend it evenly for a natural finish.
- Dab concealer onto any areas that need extra coverage, like under-eye circles or blemishes. Gently pat and blend the concealer until it seamlessly blends with your foundation.
2.
Red Eyeshadow:
- To make Eri's red eyes pop, you'll need a vibrant red eyeshadow.
- Start by applying an eyeshadow primer to your eyelids. This will help the red eyeshadow adhere better and stay vibrant.
- Use an eyeshadow brush to pick up the red eyeshadow pigment and gently pat it onto your eyelids. Start from the inner corner and work your way out.
- To intensify the color, you can wet your brush slightly before applying the eyeshadow.
- Blend the edges of the red eyeshadow with a clean, fluffy eyeshadow brush to soften any harsh lines.
3.
Eyeliner:
- A black eyeliner pencil or gel liner works great for defining your eyes.
- Start at the inner corner of your upper lash line and draw a thin line as close to your lashes as possible. You can make it slightly thicker towards the outer corner if you desire a winged effect.
- If you want to create a wing, extend the line slightly upward and outward from the outer corner of your eye. Connect it to the existing line to form a wing.
4.
False Eyelashes (Optional):
- False lashes can add drama to your Eri look.
- Apply a thin layer of lash adhesive to the band of the false lashes and wait a few seconds for it to become tacky.
- Using tweezers or your fingers, carefully place the false lashes just above your natural lash line. Press them gently to ensure they adhere securely.
- You can use mascara to blend your natural lashes with the falsies for a seamless look.
5.
Blush:
- Smile to find the apples of your cheeks.
- Using a blush brush, apply the soft pink blush to these areas. Blend it slightly upward toward your temples for a youthful, rosy glow.
- Remember, Eri has a sweet and innocent look, so don't go too heavy with the blush.
6.
Lipstick:
- Finish off your Eri look with a soft pink lipstick.
- Start by outlining your lips with a lip liner in a matching shade. This will help define the lip shape.
- Fill in your lips with the soft pink lipstick. Blot your lips together or use a lip brush for precise application.
- To make the lipstick last longer, you can lightly dust translucent setting powder over your lips.
Remember, practice makes perfect, so don't be discouraged if it takes a few tries to get everything just right. Cosplay is all about having fun and expressing your creativity, so enjoy the process!
For all these steps, you can use tools like
 makeup brushes
,
makeup sponges, and
eyelash curlersto make the process easier and more precise. Feel free to get creative with your Eri makeup!
Conclusion
Congratulations! You're now ready to rock the Eri look from My Hero Academia. If you want more in-depth tips on how to apply these makeups, check out my
how to articlesand this fantastic
video tutorial. They'll provide you with step-by-step guidance.
Remember, the key to cosplay is having fun and expressing yourself. Embrace your inner Eri, and I'm sure you'll look absolutely purr-fect! Thank you for visiting EyeBreakfast, and feel free to return anytime you need makeup advice for other characters. Until then, shine like the star you are!