

Heroic Makeover: Mastering the Izuku Midoriya Cosplay Look

Ah, Izuku Midoriya, or as some might know him, Deku! He's the hardworking protagonist of "My Hero Academia". With his curly, forest-green hair, freckles, and that determined glint in his eyes, he's climbed the ladder from being quirkless to attending the top hero academy in the country. And not just because he inherited the epic "One For All" quirk. But mostly due to his sheer will, resilience, and an unyielding spirit to help and protect others.
So why, you ask, is Izuku Midoriya a paw-some choice for cosplay? First, he's incredibly recognizable, so you're bound to catch eyes at any convention. But there's also something magical about stepping into the shoes (or rather, red boots) of a character that embodies determination and growth. Plus, it's a fun challenge for both beginners and experts alike!
Okay, so you're thinking, "Simi, I've got the green jumpsuit and the red shoes, but how do I get that signature Deku look on my face?" Fret not, dear whisker-twirling friend! Makeup is the key, and I'm here to guide you step by step. Whether it's those distinct freckles, the sun-kissed look, or getting that anime-esque vibe, I've gotchu! You see, makeup and cosplay go together like sushi and soy sauce. One brings out the best in the other! Whether you're a makeup newbie or a seasoned artist, there are always techniques to learn, especially when transforming into your favorite character. So, whisker up and brace yourself, as I take you through the magical journey of cosplay makeup. It's going to be purr-fectly marvelous! Let's get this catwalk started!
Face Primer: Building the Canvas
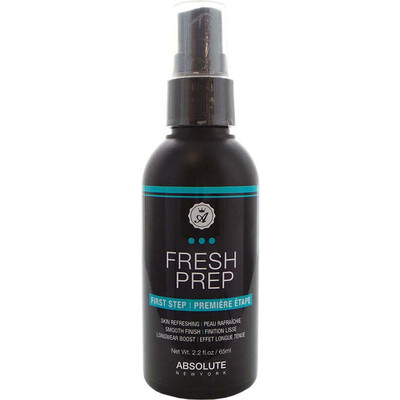
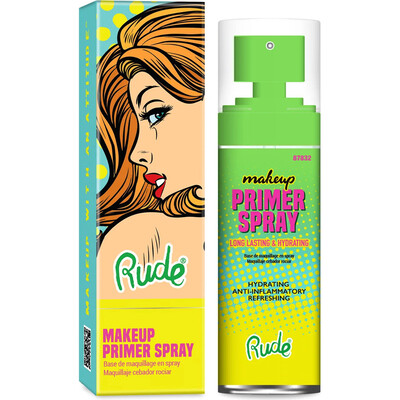
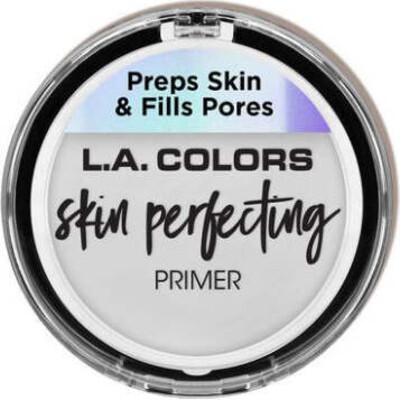
Face Primer is akin to the preparatory sketches an artist creates before painting a masterpiece. In the vast world of makeup, it's your base layer, the unsung hero that prepares your skin and ensures everything you apply afterwards adheres properly, looks vibrant, and lasts longer. Just like our aspiring hero Midoriya, it may seem understated, but its impact is monumental!
For our Izuku cosplay, the face primer is particularly significant because:
1. Even Texture: Midoriya's youthful skin is smooth and even-toned. A primer fills in the pores, fine lines, and minor imperfections, ensuring a flawless application of foundation and other face products.
2. Longevity: As you move around conventions or photo sessions, you don't want your makeup to fade or smudge. Primer grips the makeup, ensuring it stays put.
3. Vibrancy: Just as All Might's vibrant costume shines, your makeup colors should too. Primer ensures that every hue pops and looks true to its form.
Application Instructions:
1. Clean & Moisturize: Begin with a clean face. Wash away any dirt or oil. Moisturizing is key. It hydrates the skin and ensures the primer goes on smoothly. Wait a few minutes for your moisturizer to settle.
2. Pump or Dot: Most primers come in pump bottles or tubes. If it's a pump, pump a pea-sized amount onto your fingers. If it’s a tube, dot your forehead, cheeks, nose, and chin with tiny amounts.
3. Spread Evenly: Using your fingers (they're your best tools here), gently and evenly spread the primer across your face in an outward motion. Start from the center – the nose – moving towards the cheeks, then upwards to the forehead and downwards to the chin. Ensure even distribution, so there are no globs or missed patches.
4. Let It Set: Just as a hero needs patience, give your primer a minute or two to set before moving on to the next steps. This ensures it creates the perfect barrier between your skin and the forthcoming makeup.
Common Sense Tips:
1. Less is More: Overloading with primer won't make it more effective. It could result in a cakey look. Stick to a pea-sized amount.
2. Fingers are Fine: While there are primer brushes and sponges available, your fingers are perfectly fine for this job. They offer great control and warmth which helps in blending.
3. Match Primer to Skin Type: If you're oilier, a mattifying primer might be beneficial. If you're dry, look for hydrating primers.

Simi's product picks:


Foundation: Achieving Izuku’s Flawless Complexion
Foundation, in the universe of makeup, serves as the base color for your face, mirroring the canvas for an artist's painting. It evens out skin tone, covers minor imperfections, and creates a smooth surface for other makeup products. The purpose? To give your skin a clean, flawless appearance.
For your Izuku Midoriya cosplay, foundation becomes quintessential because:
1. Youthful Radiance: Midoriya has youthful, blemish-free skin. Foundation helps in capturing that innocence and vibrancy.
2. Consistency: To ensure that the look is consistent across the face without any discolorations or patches.
3. Character Realism: A smooth complexion enhances the realism of the character portrayal, making you more relatable as Midoriya.
Application Instructions:
1. Prep Your Canvas: After your primer has set, ensure your hands are clean.
2. Pick the Right Shade: Opt for a foundation shade that’s closest to your natural skin tone. Test a bit on your wrist or jawline to ensure it blends seamlessly.
3. Dot Away: Take a small amount of foundation and dot your face – cheeks, forehead, nose, and chin. Think of this as plotting the main points of Midoriya's journey!
4. Blend It In: Using a damp beauty sponge or a foundation brush, start blending. Imagine the sponge/brush as Midoriya’s notebook, where he jots down hero tactics. Gentle, purposeful, and thorough. Move in an outward direction, ensuring there's an even application. Don't forget your neck; it's part of the look too!
5. Build If Needed: If you feel the need for more coverage, build it up slowly. Remember, Midoriya didn’t become strong overnight!
Common Sense Tips:
1. Match Your Skin Tone: Wearing a shade too light or dark can break the illusion. So, choosing the right shade is vital.
2. Blending is Key: Uneven foundation is like a hero without training. Take your time to blend for a smooth finish.
3. Tools Make a Difference: A damp beauty sponge (like a beauty blender) offers a dewy finish, while brushes provide more coverage. Choose based on your preference and the look you’re going for.
Concealer: Perfecting Izuku's Unblemished Look
Concealer is the unsung hero in the realm of makeup, often working in the shadows but delivering powerful results. Its primary purpose is to hide and "conceal" skin imperfections like dark circles, blemishes, and any discoloration, acting like an eraser to perfect that manga-like complexion.
For embodying Izuku Midoriya, concealer becomes vital because:
1. Spotless Appearance: Deku, our earnest hero, has skin untouched by teenage troubles. To replicate this, concealer helps in hiding any unwelcome visitors (read: pimples) or fatigue signs.
2. Bright Eyes: Midoriya's eyes always carry determination. Concealer can brighten up the under-eye area, ensuring his character's unwavering spirit shines through.
3. Flawless Finish: To make sure the foundation has a seamless friend, concealer can provide additional coverage where needed.
Application Instructions:
1. Pick the Right Shade: For under the eyes, choose a concealer shade that's 1-2 shades lighter than your foundation. For blemishes and imperfections, the concealer should match your foundation shade.
2. Spot Treatment: Think of each blemish as a villain. Dab a tiny amount of concealer onto the "villain", ensuring Midoriya's heroism shines through.
3. Under-Eye Magic: For the under-eye, imagine drawing the shield emblem of U.A. High School. Start from the inner corner of your eye, drawing downwards and then upwards towards the outer corner. This triangular application will help illuminate and lift the eyes, just as Midoriya's hope lifts spirits.
4. Blend with Dedication: Using your ring finger (it applies the least pressure) or a soft, flat brush, gently blend the concealer. Tap and dab, don't drag. Think of it as All Might guiding Midoriya - gentle but firm.
Common Sense Tips:
1. Less is Always More: Over-applying can make the concealer cakey and noticeable. Start with a small amount and build if necessary.
2. Don't Rub, Dab!: Rubbing can remove the concealer or irritate the skin. Gentle dabbing is the key.
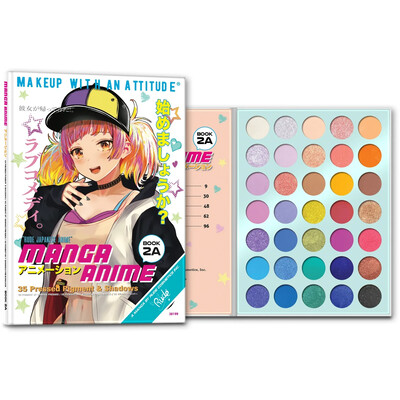
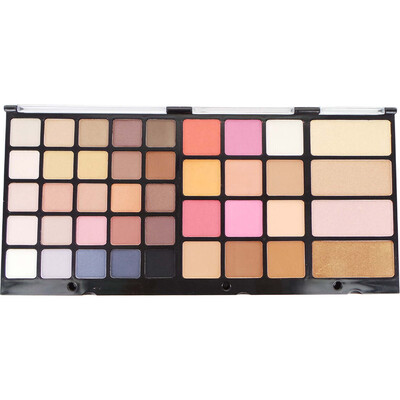
Eyeshadow: Channeling Izuku's Gaze
Eyeshadow accentuates the eyes, adding depth, emotion, and a certain "manga sparkle". For Midoriya, it's all about capturing that youthful, determined, and sometimes surprised gaze he often sports when facing challenges or discovering new aspects of his Quirk.
How to Paint that Purr-fect Midoriya Look
1. Forest Greens: Izuku's eyes shimmer with a forest green hue. Sweep a muted green eyeshadow
across the lid, staying below the crease. This reflects his natural eye color, and the subtleness makes it more lifelike.
2. Defining the Depth: Use a slightly darker green
in the crease to give depth to the eyes, mirroring the intensity and layers of Midoriya's character.
3. Highlight that Hero Gaze: To capture that anime sparkle, apply a touch of pale shimmer or silver
to the inner corners of your eyes. This gives a bright, open look, similar to when Izuku is inspired or filled with hope.
4. Blending is Your Quirk: Using a fluffy brush, blend the colors softly to avoid any harsh lines. Think of it as blending the lines between student and hero, a journey Midoriya knows all too well.
5. Eyeshadow Brushes: A basic eyeshadow brush for applying, a crease brush for the darker shades, and a fluffy blending brush to ensure seamless transitions.
6. Start Light: It's easier to build up color than to take away. Start with a lighter touch and build up to your desired intensity.
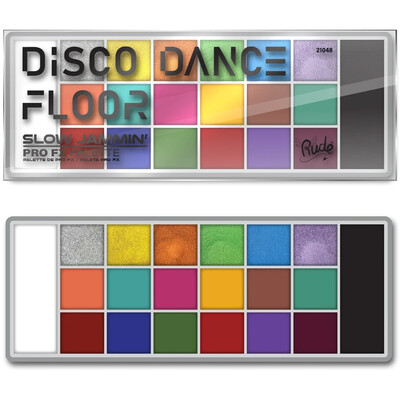
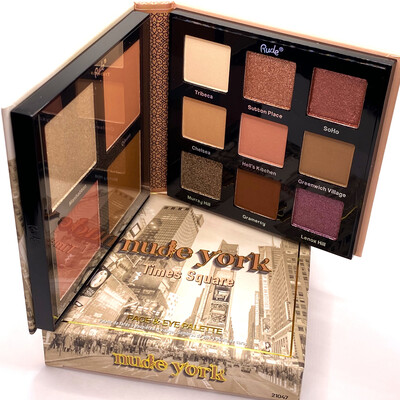
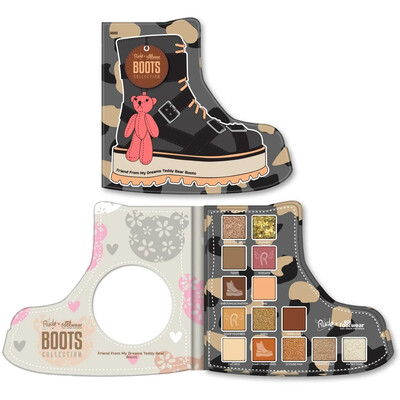
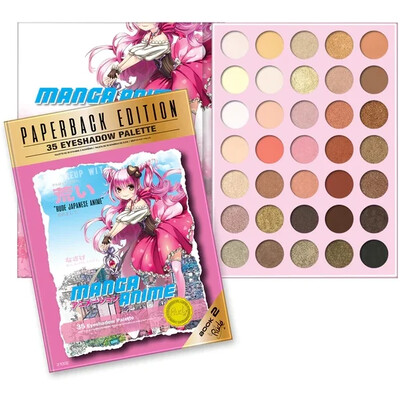
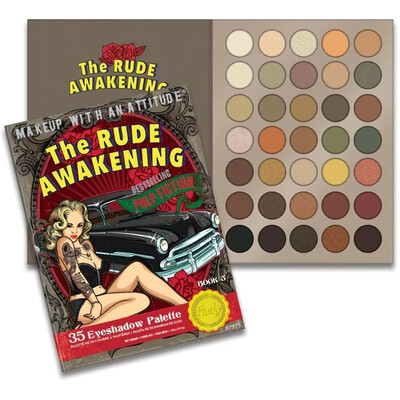
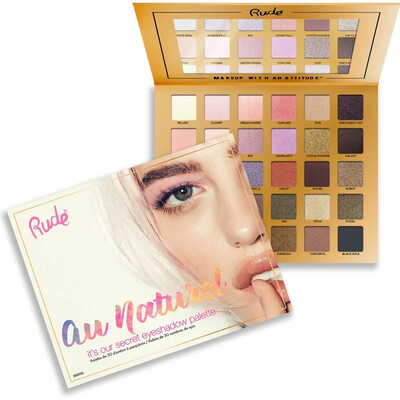
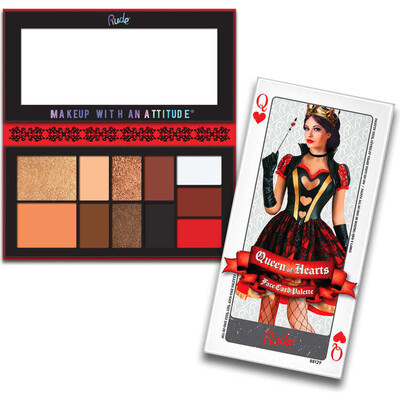
Simi's product picks:
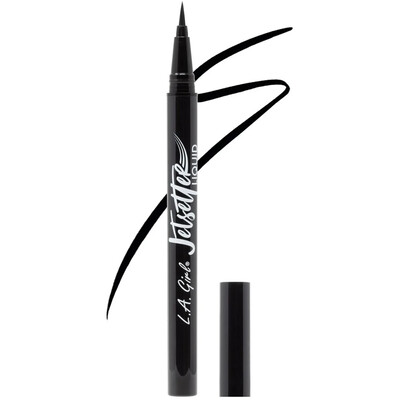
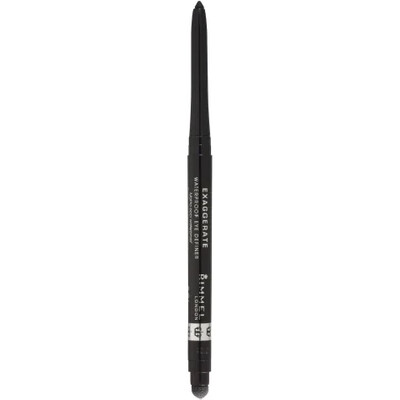
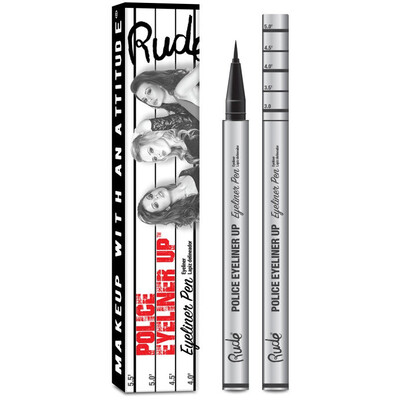
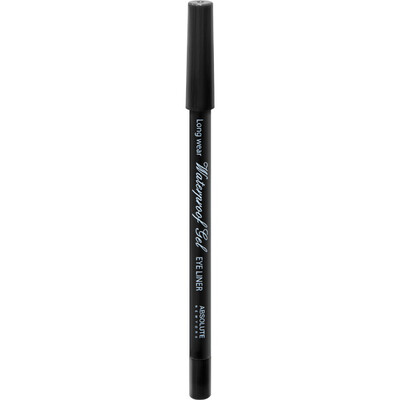
Emulating Anime Eyes with Eyeliner
1. Eyeliner helps define and accentuate the eyes, giving them a sharper, more intense look. In the world of anime, characters like Midoriya have incredibly expressive eyes. To replicate that, eyeliner is key! It’s the very tool that will give you those bold, manga-styled eyes, mirroring the intensity and passion of our green-haired hero.
2. Steady Start: Begin with a thin line close to the lash line. For Deku, you don’t want an overly dramatic line, but rather one that subtly defines. Imagine this as the baseline of Midoriya's character - strong but unassuming.
3. Thin Wings: Extend a small, thin wing upwards at the outer corner of each eye. This shouldn't be as dramatic as a classic cat-eye; think of it as the slight uptick in Midoriya's eyebrows when he's in deep thought or determination.
4. Lower Lash Magic: Using a softer pencil liner, lightly trace the outer third of the lower lash line. This adds depth without making it look too intense. It's the same nuance as when Midoriya is in his thinking mode, carefully planning his next move.
5. Soft Inner Definition: For that anime touch, lightly darken the upper waterline (tightline) with a black or deep green
eyeliner. This makes the lashes appear fuller and adds an intense yet natural definition.
Common Sense Tips:
1. Steady Does It: Rest your elbow on a table while applying the eyeliner for a steadier hand. Think of it as Midoriya steadying himself before a big fight.
2. Fix Mistakes with Precision: If you do make a mistake (and that's okay!), use a damp Q-tip or a little concealer to correct it. No need for a full do-over.
Simi's product picks:


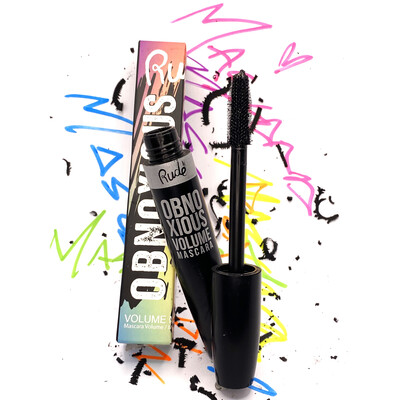
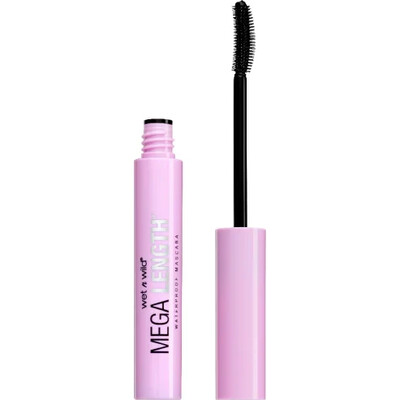
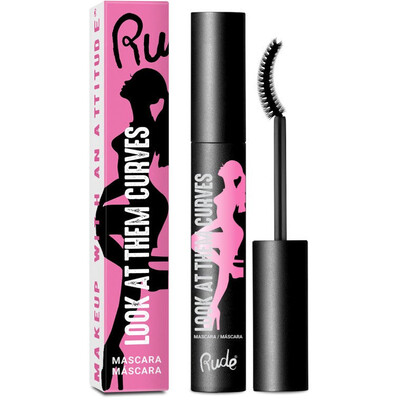
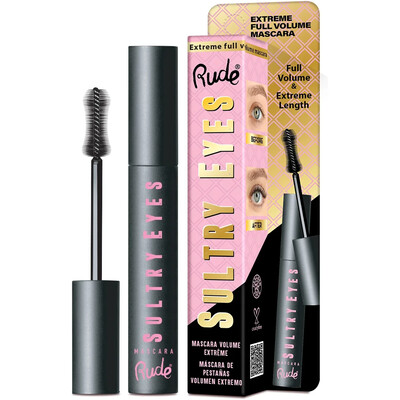
Manga Lashes with Mascara
Mascara elongates, volumizes, and darkens the lashes, drawing further attention to the eyes and making them appear larger and more animated. For Midoriya, those wide-eyed moments of shock, determination, or inspiration are iconic. Mascara helps replicate this by intensifying the gaze, making the eyes the centerpiece of expression.
1. Thin Coats: Apply the mascara in thin layers, wiggling the wand from the base to the tips of the lashes. This ensures even coverage without clumps.
2. Lower Lash Love: Don’t neglect the lower lashes. Use the tip of the wand to lightly coat them, giving that wide-eyed, innocent look Midoriya often has, especially when he's caught off guard or deeply touched by someone's words.
3. Opt for Natural: Midoriya's look isn't about dramatic volume but more about definition. Choose a mascara that offers more length and separation over thick volume.
Common Sense Tips:
1. Avoid the Over-Dip: Each time you need more product, swirl the wand inside the bottle rather than pumping it in and out. Pumping can introduce air and dry out the mascara faster.
2. Mistake Mend: If you accidentally smudge the mascara on your eyelid, wait for it to dry before gently removing it with a Q-tip. It's easier to flake off when dry.
3. Expiration Attention: Mascara has a short lifespan, typically 3-6 months. If it smells off or becomes clumpy, it's time to replace it.
Simi's product picks:
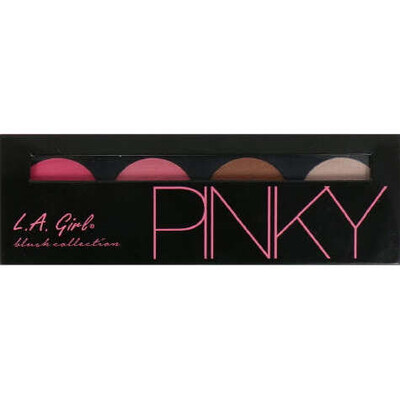
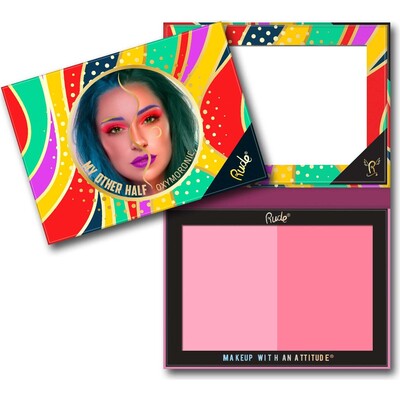
Blush: Capturing Midoriya's Flushed Moments
Blush adds color to the cheeks, giving life and warmth to the face. It mirrors natural flushes that come with strong emotions. For someone as passionate and often emotionally charged as Midoriya, blush helps portray those moments when he's nervous, embarrassed, or giving it his all in a heated battle.
1. Locate the Sweet Spot: For Midoriya, the blush is mostly concentrated on the apples of his cheeks. To find this, give a big, toothy grin – the apples are the fleshy, raised parts.
2. Less is Mew-re: Start with a light hand. Dip your brush into the blush, tap off excess, and gently sweep it onto the apples in a circular motion. For Midoriya's youthful look, we're aiming for a subtle, fresh flush, not a dramatic contour.
3. Blend to the Heavens: Make sure to blend the edges well, so there's no stark contrast between the blush and your skin. It should look as seamless as Midoriya's courage in the face of adversity.
4. Opt for Matte: While shimmers and glitters have their place, for Midoriya's natural flush, a matte blush is purrfect.
Tools for the Mission:
1. Fluffy Blush Brush: This ensures a soft and even distribution of the product, crucial for that natural finish.
Common Sense Tips:
1. Build, Don’t Overload: It's easier to add more blush than to take away. Start with a light application and build up if necessary.
2. Pick the Right Hue: For Deku's natural look, choose a blush that's close to your natural flush. Think about the color your cheeks turn when you're a tad embarrassed or after a quick sprint.
3. Stay Fresh: If you over-apply, don’t fret! Just take a clean makeup sponge or your foundation brush and gently dab over the blush to diffuse the color.
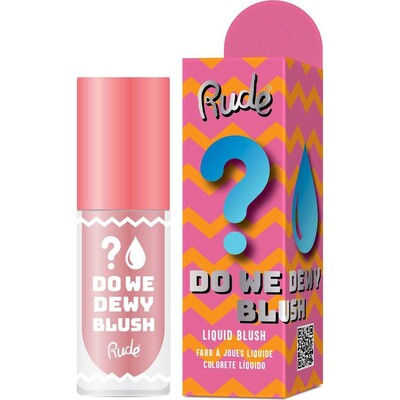
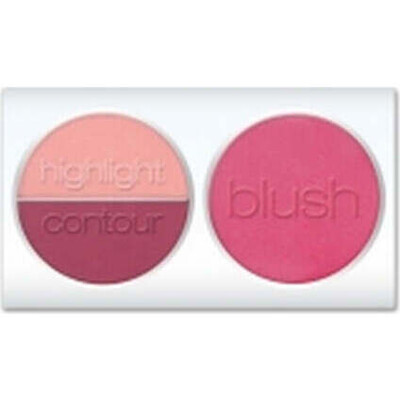
Simi's product picks:

Achieving Midoriya's Signature Freckles
Izuku's freckles are like soft sprinkles of cinnamon over the pale dough of his face. Predominantly across the bridge of his nose, they scatter outwards in an organic, random pattern, with a few nestled on his cheeks. These freckles add a touch of boyish charm, making them essential for a faithful portrayal.
Freckle Technique:
1. Selecting the Right Shade: Choose a muted, natural brown for the freckles. This ensures they look sun-kissed and genuine rather than drawn on.
2. Gathering Your Tools: A fine-tipped brush is the best instrument for this task. For those more comfortable with pencil tools, a brown eyeliner or brow pencil with a soft tip will suffice.
3. Dotting with Precision: Hold your tool perpendicular to your face. Gently touch it to your skin, lifting immediately to leave a soft dot. Rotate your wrist subtly for each freckle, ensuring varying sizes and shapes, mirroring natural freckles.
4. The Importance of Sporadic Placement: Remember, nature doesn’t follow a strict pattern. Allow your freckles to flow naturally, placing them sporadically with some close together and others spaced out.
Pro Tips for Beginners:
1. Practice Makes Perfect: Use your wrist or back of your hand to get a feel for your tool and the pressure required before attempting your face.
2. Start Sparse: It’s tempting to dot away, but start with fewer freckles. You can always add more if needed.
3. No Panic Over Bloopers: A freckle too bold or big? Lightly pat it with a clean fingertip to diffuse the color or use a dampened Q-tip to adjust.
4. Two-Toned Approach: For a multi-dimensional look, use two shades of brown. A majority in a light hue with occasional freckles in a darker shade can give a more realistic appearance.
Simi's product picks:

Recreating Midoriya's Distinctive Scar
Izuku Midoriya's scar, situated on his right hand, is a stark testament to the many battles he's faced. It has a jagged, almost lightning-like appearance that winds from his pinkie and ring finger up towards his wrist. The scar isn’t just a straight line, but rather a meandering mark with thin and thick segments, emphasizing the severity of the injury.
Steps to Emulate Midoriya's Scar:
1. Base Preparation: Begin with a clean hand. A moisturized surface ensures that the makeup sits well and lasts longer.
2. Sketching the Scar: Using a light taupe or soft brown eyeliner pencil, lightly draw the scar's path. This acts as your guideline and ensures the shape is correct before adding depth and detail.
3. Adding Dimension: To create the realistic appearance of a raised scar, use a red-brown cream makeup or a specialized scar wax. Apply this over your drawn guideline, ensuring the middle of the scar is slightly raised while tapering off towards the edges.
4. Creating Texture: If using scar wax, mold and pinch the wax to mimic the rough and uneven texture of a scar. If using cream makeup, lightly tap with a stippling sponge for texture.
5. Intensifying: For depth, shade the scar's edges with a deeper brown or muted plum eyeshadow, blending slightly to give the appearance of skin discoloration.
Handy Tips for First-timers:
1. Work Slowly: It’s easier to add more product than to remove excess. Begin with a light hand and build up as necessary.
2. Practice on Paper: Before attempting the scar on your hand, practice the shape on paper to get familiar with its twists and turns.
3. Always Test: Especially if using products like scar wax for the first time, always test on a small patch of skin to check for any allergic reactions.
4. Embrace Asymmetry: Remember, scars aren't perfectly uniform. Don't stress about making both sides of the scar identical. Natural variation adds to realism.
Crafting Midoriya's scar with precision will make your cosplay standout, capturing not only his look but also the essence of his journey. It's these intricate details that transform a good portrayal into a great one, allowing you to truly embody the character.
Simi's product picks:
The Subtle Art of Lip Balm
While Midoriya doesn't wear obvious makeup, his lips do exhibit a hydrated and healthy sheen, something best achieved with the application of a quality lip balm. This not only enhances the character's aesthetic but also ensures you remain comfortable throughout the day.
Guidelines:
1. Start Clean: Before any application, ensure your lips are clean and devoid of any other products. A soft exfoliation using a lip scrub or even a toothbrush can help remove any chapped skin.
2. Choosing the Right Balm: Opt for a clear or lightly tinted lip balm. It should provide hydration without adding excessive shine or color. Creamy formulations work best as they provide a natural matte finish which is very much in line with Midoriya's appearance.
3. Application: Use your fingertip or the balm stick to apply a generous layer onto your lips. Starting at the center, spread the product outwards, ensuring even coverage. If using a pot or tin, a lip brush can offer precise application.
4. Blotting is Key: To maintain the naturalness, lightly blot your lips with a tissue after application. This removes excess product and ensures a non-glossy finish.
5. Reapply As Needed: Throughout your cosplaying event, keep the lip balm handy for touch-ups, ensuring your lips stay moisturized and true to the character's look.
6. Avoid Tinted Variants: While tempting, colored balms can alter the natural hue of your lips and deviate from Midoriya's look. Stick to clear or near-clear options.
Simi's product picks:

Lock and Load: Setting Your Makeup
Setting spray is akin to the protective topcoat on a freshly painted canvas; it shields, preserves, and enhances. Specifically designed to keep your makeup intact, it forms a barrier against external factors such as sweat, humidity, and those unexpected emotional moments. More than just a barrier, it serves to meld your makeup, creating a seamless finish and reducing the powdery or over-layered look.
To wield your setting spray effectively:
1. Measure the Distance: Imagine the spray as a gentle morning mist. Holding it 10-12 inches from your face ensures an even, weightless coverage.
2. Mist in Motion: Close your eyes and visualize drawing an "X" and then a “T” on your face with the mist, securing the central regions most prone to makeup migration.
3. Patience Pays: Let the mist descend and settle. Bask in it, allowing it to air dry, sealing in your artistry.
Steps to Apply
1. Face Primer: Start with a clean and moisturized face. Apply a small amount of primer evenly across your face.
2. Foundation: Dot the foundation over your face. Use a foundation brush or sponge to blend it out.
3. Concealer: Dab under your eyes, on blemishes, or any dark spots. Blend gently.
4. Eyeshadow: Apply on the crease of your eyelids. Blend outwards.
5. Eyeliner: Thinly line your upper lash line. Optionally, add a small wing.
6. Mascara: Apply from the base of your lashes, wiggling up to the tips.
7. Blush: Smile and apply on cheeks. Swipe upwards towards temples.
8. Freckles: Dot on the freckles using a thin brush or the end of a brush handle.
9. Scar on the Right Hand(Optional): Sketch the scar's shape and fill it in. Blend the edges.
10. Lip Balm: Swipe across your lips for hydration.
11. Setting Spray: Hold at arm's length and mist over your face.
Unmasking the Hero: Makeup Removal Post-Cosplay
So, you've successfully turned yourself into Izuku Midoriya, defended the innocent, and probably taken tons of purr-fect pictures at the convention. But just as every good anime episode comes to an end, so does your cosplay adventure for the day. Now, the next step is as crucial as choosing the right shade of foundation: removing that makeup. Imagine, you've used all this long-lasting and waterproof makeup to ensure Deku's face stays on point throughout the day. And trust me, as someone who knows a thing or two about makeup, that stuff clings onto your skin tighter than All Might's grip on justice! Simply using soap and water is like sending Mineta to fight All For One – not very effective! When makeup isn't completely removed, it can trap dirt and oil, causing acne and skin irritation. Enter the superhero of this scenario: makeup remover! It's specifically designed to break down and wipe away even the most stubborn of makeups. By ensuring every trace of your cosplay makeup is removed, you're not only preserving the integrity of your skin but also preventing any potential outbreaks. So, the next time you hang up that green jumpsuit, remember to give your skin the love and care it deserves.
Simi's product picks:
Capturing the Heart of a Hero: Concluding Thoughts on Cosplaying Izuku Midoriya
Now, cosplaying as Izuku is not just about nailing the look; it's about capturing his essence. Remember to embrace his resilient spirit and kindness. Even if a makeup step feels challenging, channel your inner Deku and persevere. After all, wasn't it Izuku who taught us that being a hero is about pushing through our limits? A couple of whisker-tips before you go: Firstly, always test your makeup products before the main event. We wouldn't want any unfur-tunate reactions, would we? Secondly, while it's tempting to rush through the process, taking your time will lead to a purrfect finish. And lastly, always wear your cosplay with confidence. You've put in the hard work, now strut your stuff and shine! As you venture out to showcase your fabulous Izuku Midoriya cosplay, I wish you all the success and an utterly meow-tastic time! May the spirit of anime always light up your path. And remember, in the world of cosplay, as in life, it's not just about looking the part, but feeling it too.